4 Steps to Creating a DIY Home Photography Studio
Technology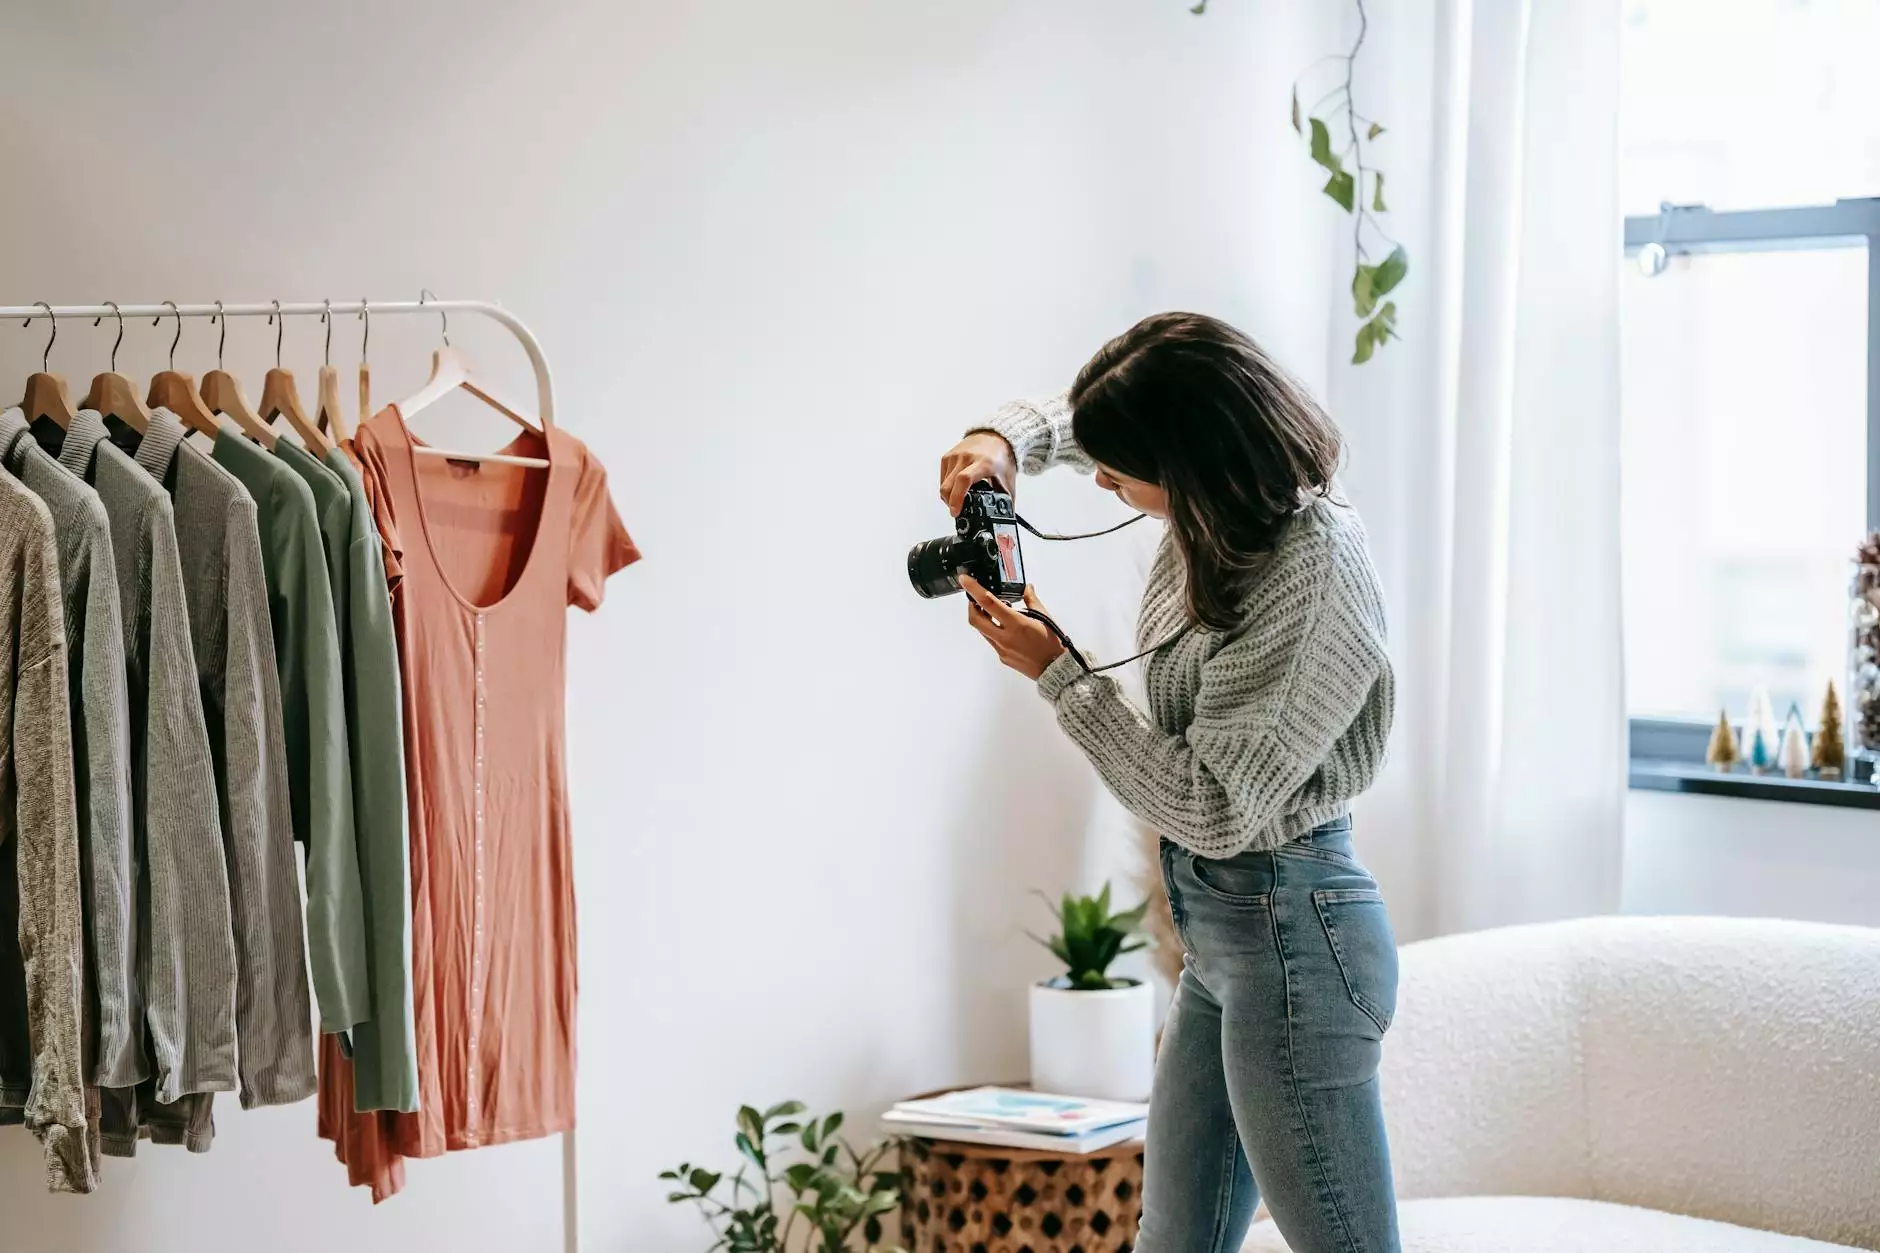
Step 1: Designating the Space
Creating a DIY home photography studio starts with designating the ideal space in your home. Look for an area that provides ample natural light or invest in proper lighting equipment. You want a place that is spacious enough to set up your equipment and props, yet cozy enough to create a comfortable and inviting atmosphere for your subjects.
Step 2: Essential Studio Equipment
In order to achieve professional-looking results, equipping your DIY home photography studio with the right gear is crucial. Here are some essential items that Cormon Cable and Distribution Inc. recommends:
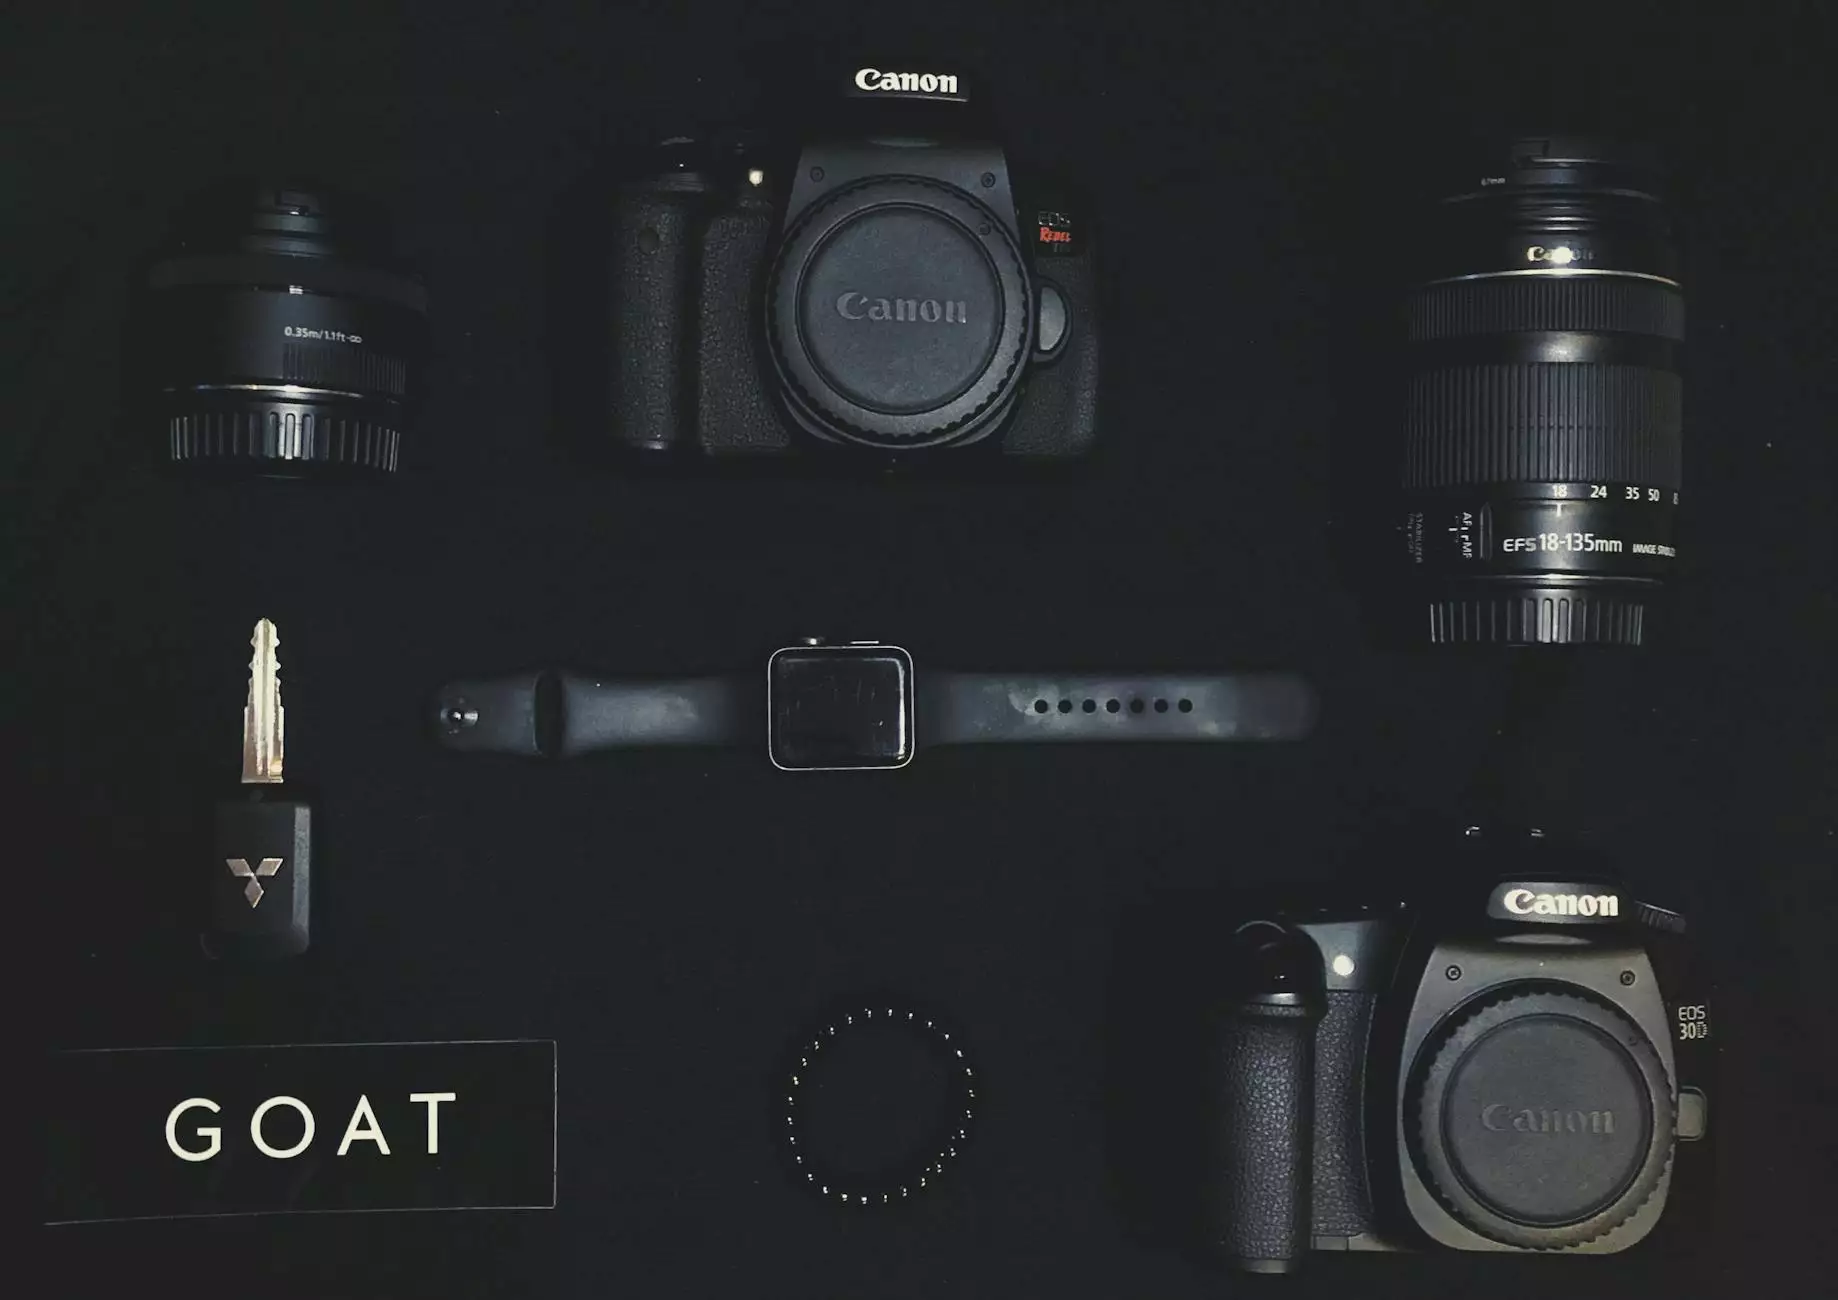
- Camera and Lenses: Invest in a DSLR or mirrorless camera body that suits your photography style. Select a good quality lens that allows you to capture varied perspectives.
- Lighting Equipment: Consider purchasing a set of professional studio lights to ensure proper illumination. Softboxes, reflectors, and light stands are essential for controlling light and shadow.
- Backdrop and Props: Choose a backdrop that suits your photography genre and invest in props that complement your subjects.
- Tripod: A sturdy tripod is essential for achieving sharp and steady shots, especially in low-light conditions.
- Editing Software: Invest in powerful photo editing software such as Adobe Photoshop or Lightroom to enhance and retouch your images.
Step 3: Setting Up the Studio
Now that you have your designated space and necessary equipment, it's time to set up your DIY home photography studio. Follow these steps to ensure an optimized setup:
- Lighting: Position your studio lights to achieve the desired effect. Experiment with different angles and intensities to create the perfect lighting for your subjects.
- Backdrop: Set up your chosen backdrop, ensuring it is wrinkle-free and properly lit. This will provide a clean and consistent background for your photographs.
- Props and Furnishings: Arrange your props and furnishings to enhance your subjects and create a professional-looking environment. Consider including seating options, tables, and decorative elements.
- Camera and Tripod: Set up your camera on the tripod, adjusting the height and angle to your preference. Ensure the camera is securely attached to the tripod for stability during shooting.
Step 4: Perfecting Your Skills
Creating a DIY home photography studio is not just about the space and equipment; it's about honing your photography skills. Here are some tips to help you improve:
- Practice: Dedicate time to practicing with your equipment and experimenting with different techniques. The more you practice, the more comfortable you'll become with your setup.
- Learn from Experts: Take advantage of online tutorials, photography courses, and workshops to enhance your knowledge and learn new skills.
- Experiment with Lighting: Play with different lighting setups and effects to bring out the desired mood and atmosphere in your photographs.
- Composition and Framing: Study composition techniques and experiment with different angles and perspectives to create visually compelling images.
- Post-processing: Master the art of photo editing to enhance your images and give them a professional finish.
With these 4 steps, you'll be well on your way to creating a DIY home photography studio that allows you to capture stunning images with professional quality. At Cormon Cable and Distribution Inc., we understand the importance of having the right equipment and knowledge to achieve outstanding results. Explore our range of photography accessories and equipment to elevate your photography experience at home.

